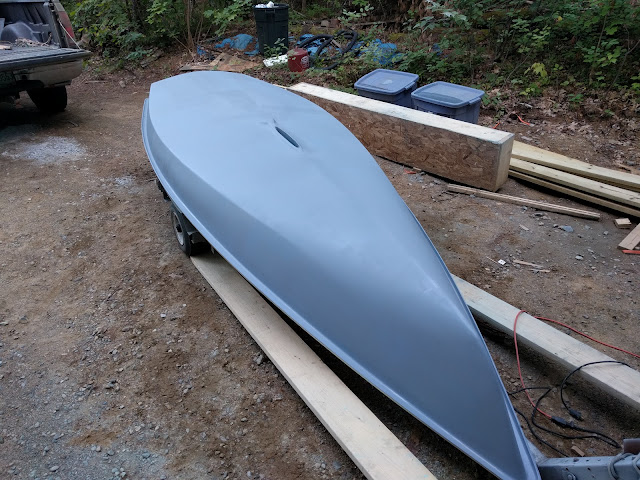
After the first patches had been applied and allowed to cure I went back over them and sanded them down to help blend them into the rest of the hull.
Once I was satisfied, I laid down a coat of fairing compound on all the patches and let it setup.
After 4 or 5 hours, I came back and found everything had hardened up nicely and was ready to sand. The great thing about fairing compound is that it is great for hiding patches, holes, cracks, gouges, etc... The bad thing about it is that in order for it really blend in and make the fix invisible, you have to sand almost all of it off, so most of what you pay for turns to dust.
Anyway, after sanding down the fairing compound, I found a number of other areas that needed tending, most notably a large crack just aft of the daggerboard trunk so back to the 6oz glass for another patch. Along with the patch I touched up the first round of fairing compound and let it all setup overnight.
 The next day I came back and sanded it all down again. At this point you go by feel, and everything felt pretty good, but looking at it is tough to tell if things are fair because all the colors of fairing compound, gelcoat and bare glass all turn the hull into something akin to camouflage. When I get to this point, it's time for primer. With this boat I'm using a single part polyurethane high build primer. It's simple to apply, just pour it out into a paint tray and roll it on with the 6" sausage rollers. In some cases, the fairness may still be a mess after the first coat of primer and you start over with the fairing compound, but luckily, I didn't miss much and will only have a few minor scratches that I missed to fill.


No comments:
Post a Comment