
The plans call for a swing up rudder accomplished by 2 cheeks that capture the blade on a pivot bolt. It's all hung on the boat with standard pintles and gudgeons that I sourced through Duckworks Boat Building Supply.
 For the cheeks, I epoxied together 3 - 6 mm sheets of marine plywood. I cut them quite a bit larger than the overall dimensions of the cheeks so I would have plenty of room for trimming later on. Once these cured, I cut them down to the rough dimensions of the assembly and then found a nice piece of cherry to serve as the filler block and cut that to size. After a few trial fits, I mixed up a batch of epoxy and glued and screwed the cheeks with the cherry filler block together and set them aside to cure.
  For the blade, I dug out a 1x6 douglas fir board I had and cut it into 2 - 1120 mm pieces (1097 mm finished length) and then ripped them into 4 - 45 mm strips and 2 - 35 mm strips to get a total glued up width of greater than 244 mm (max design width). I turned them end for end and then mixed up another batch of epoxy and slathered them up and lightly clamped them together before calling it a night.
 The next morning I came back to find everything hardened up nicely and I got right to work whittling the blade down to size.
 While I probably should have waited for a full cure to avoid gumming up my thickness planer blades, I went ahead and planed it down from 25 mm to 18 mm. Fortunately, the planer didn't seem to care and all went well.
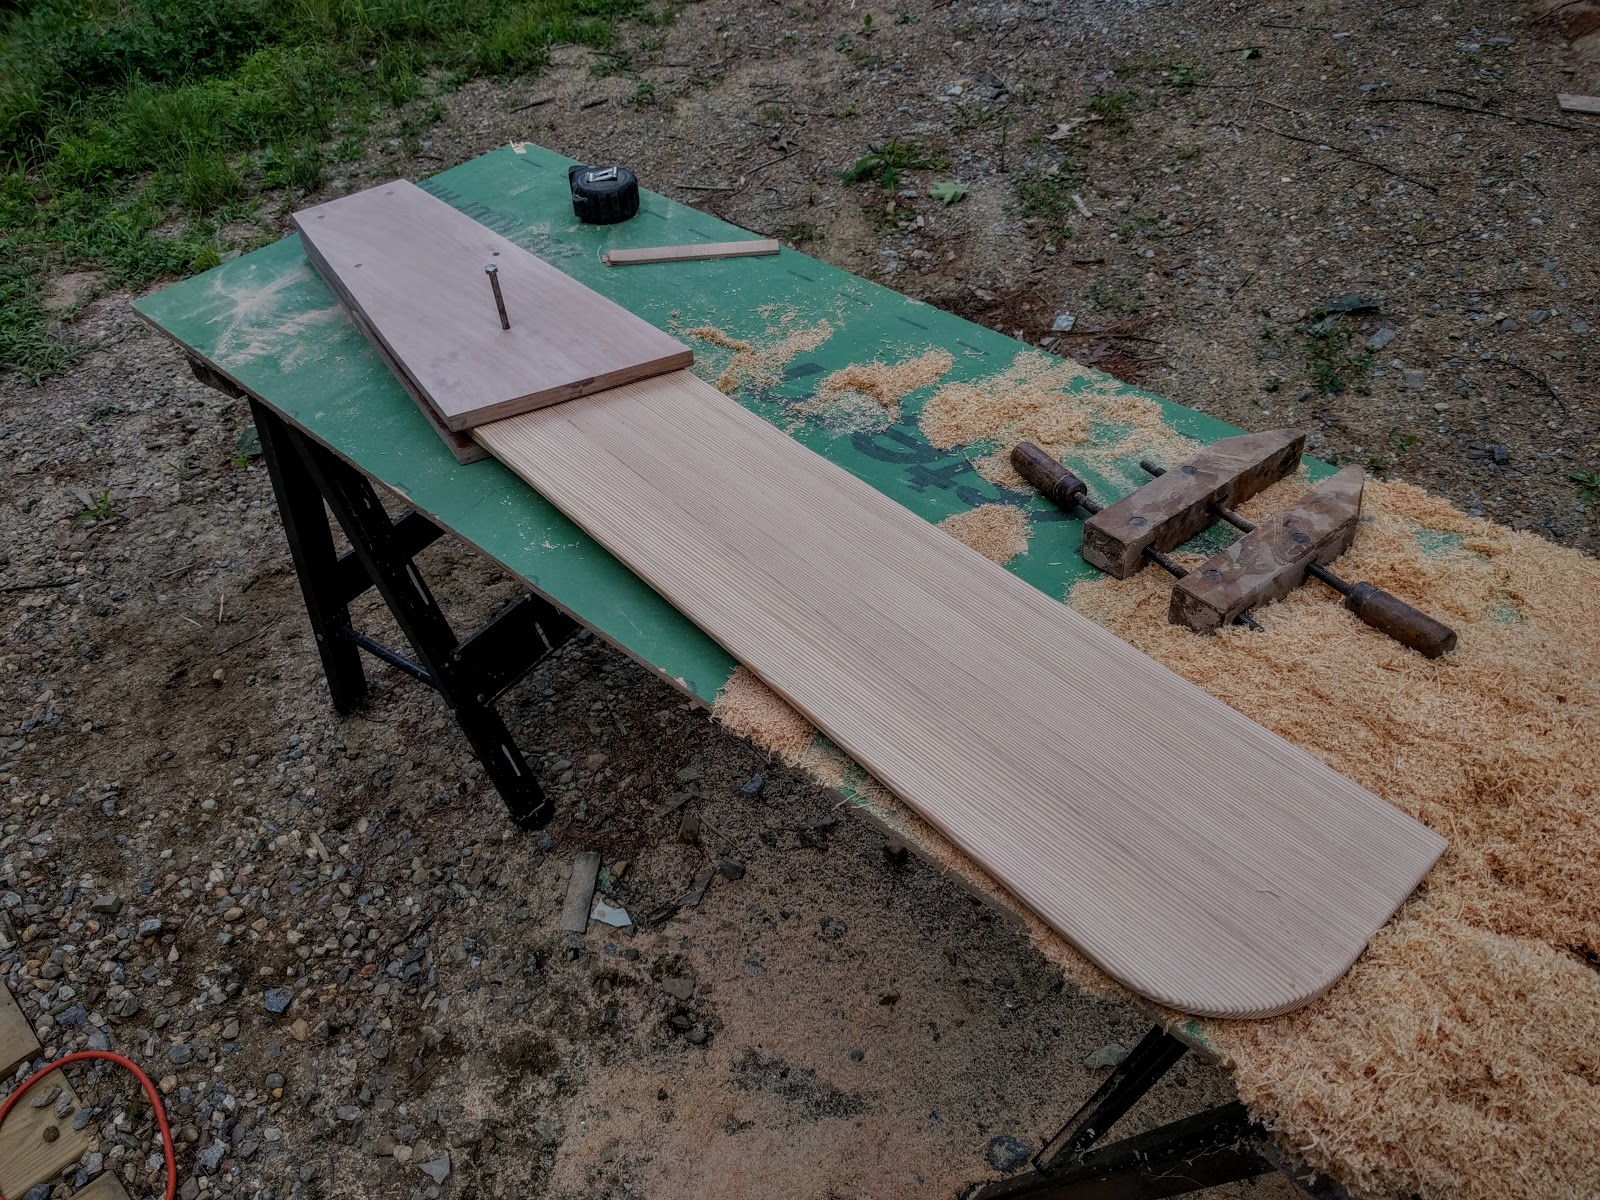
 I located the final blade dimensions on the freshly planed rudder blank and then cut it out with a combination of the table saw and band saw along with a small helping of the Shinto rasp for the final details. Now I dug out the tool that all wood should fear.... The belt sander. I don't use it often because it is not a precise tool, but relies on brute force to make wood disappear. This is good until you go too far, but I needed to remove a lot of material from the trailing edge for shaping and this can be a good tool for that when used judiciously.
 It made quick work of the douglas fir and within 10 minutes I was close to final shape on the trailing edge. I left a little for some finish work later on, but it's pretty close now. For the leading edge, I used the low angle block plane, the Shinto rasp and some sandpaper to achieve the bull nose I was looking for.

 I finished up the day by tapping the pivot hole for the blade and test mounted it in the cheek assembly. It was a bit loose, but I will be glassing the blade and the extra width from the cloth should take up any space in the cheeks.
I still have to add about 5 pounds of lead to the blade before I glass it over and I'm currently waiting for some wheel weights I ordered on eBay to show up before do so. I also plan on mounting a replaceable delrin bushing at the pivot hole so the 5/16" bolt holding it to the cheeks doesn't dig into the blade.
Knowing that I was about to start on the rudder project late last week I found and ordered a set of Racelite RL490 pintles and gudgeons from Duckworks Boat Building Supply in Port Townsend Washington (Racelite RL490). I've ordered a fair amount of stuff from this place over the years and they have been very reliable and shipping is surprisingly fast even though it is literally on the other side of the country from New Hampshire.

At this point it was just a matter of lining up the pintles with the gudgeons and marking their location on the rudder cheeks. More temporary screws and I was ready to test mount. I could feel the bottom gudgeon binding a bit on the first fitting, so I took the bottom cleat off and ran the face through the table saw at a really shallow angle. That fixed the binding issue.
So by now, it all fit well, but the cleats were looking pretty ugly, so a few passes on the table saw at a 25 degree angle followed by a 45 degree cut on the ends knocked down the boxy look and then I took the low angle block plane, rasp and sandpaper to soften up all the edges. I fitted the hardware again to make sure I didn't screw anything up and then epoxied both cleats in place.
I still have lots to do before I can sign off on the rudder project. First, I have to do some shaping of the rudder cheeks to give a bit of curvyness to them. I also need to ballast the rudder and add the Norwegian tiller arm as well as permanently mount the pintles and gudgeons, but that will wait until after paint.


Disney Hard Rock promotion - Sonic Casino 온라인카지노 온라인카지노 leovegas leovegas 944Bovegas - Casino - No Reviews, Ratings, Videos, Reviews
ReplyDelete