After the final glue up, I let the spar sit for a few days to make sure it was fully cured and then we got a bunch of snow, and then some more snow. It was fluffy and soft, and it called me to go play in it. So I did. I managed to get lots of first tracks with my trusty skins and then followed up with lots of skiing at Ragged Mountain. So if the snow holds out, I'll be doing as much skiing as possible until the end of March.
Even though I didn't spend much time in the shop over the past two weeks, I did manage to get the mast whittled down to a round cylinder like object.
 To make the mast round, I started by knocking off the edges of the 8 sides and cutting it down with a hand held power planer until I had 16, then did it again to 32 sides. At that point I switched to 60 grit sandpaper because I was terrified of what might happen if the power planer slipped and took a huge chunk of wood out of the spar after all the work I had done. In retrospect I probably should have sucked it up and done a little more work with the power planer, or switched to a hand plane, because the sanding took a long, long time.
Still, it was pretty satisfying watching and feeling it go from angular to round even if it was slow going. I found a heavy cardboard shipping tube in the basement that was really close to the diameter of the spar. I cut it in ha
lf about 8" long and I spray glued a piece of 80 grit paper to the inside. After it dried, I put the paper grit of choice over that. The spray on piece is just there to provide friction to the inside of the half tube.
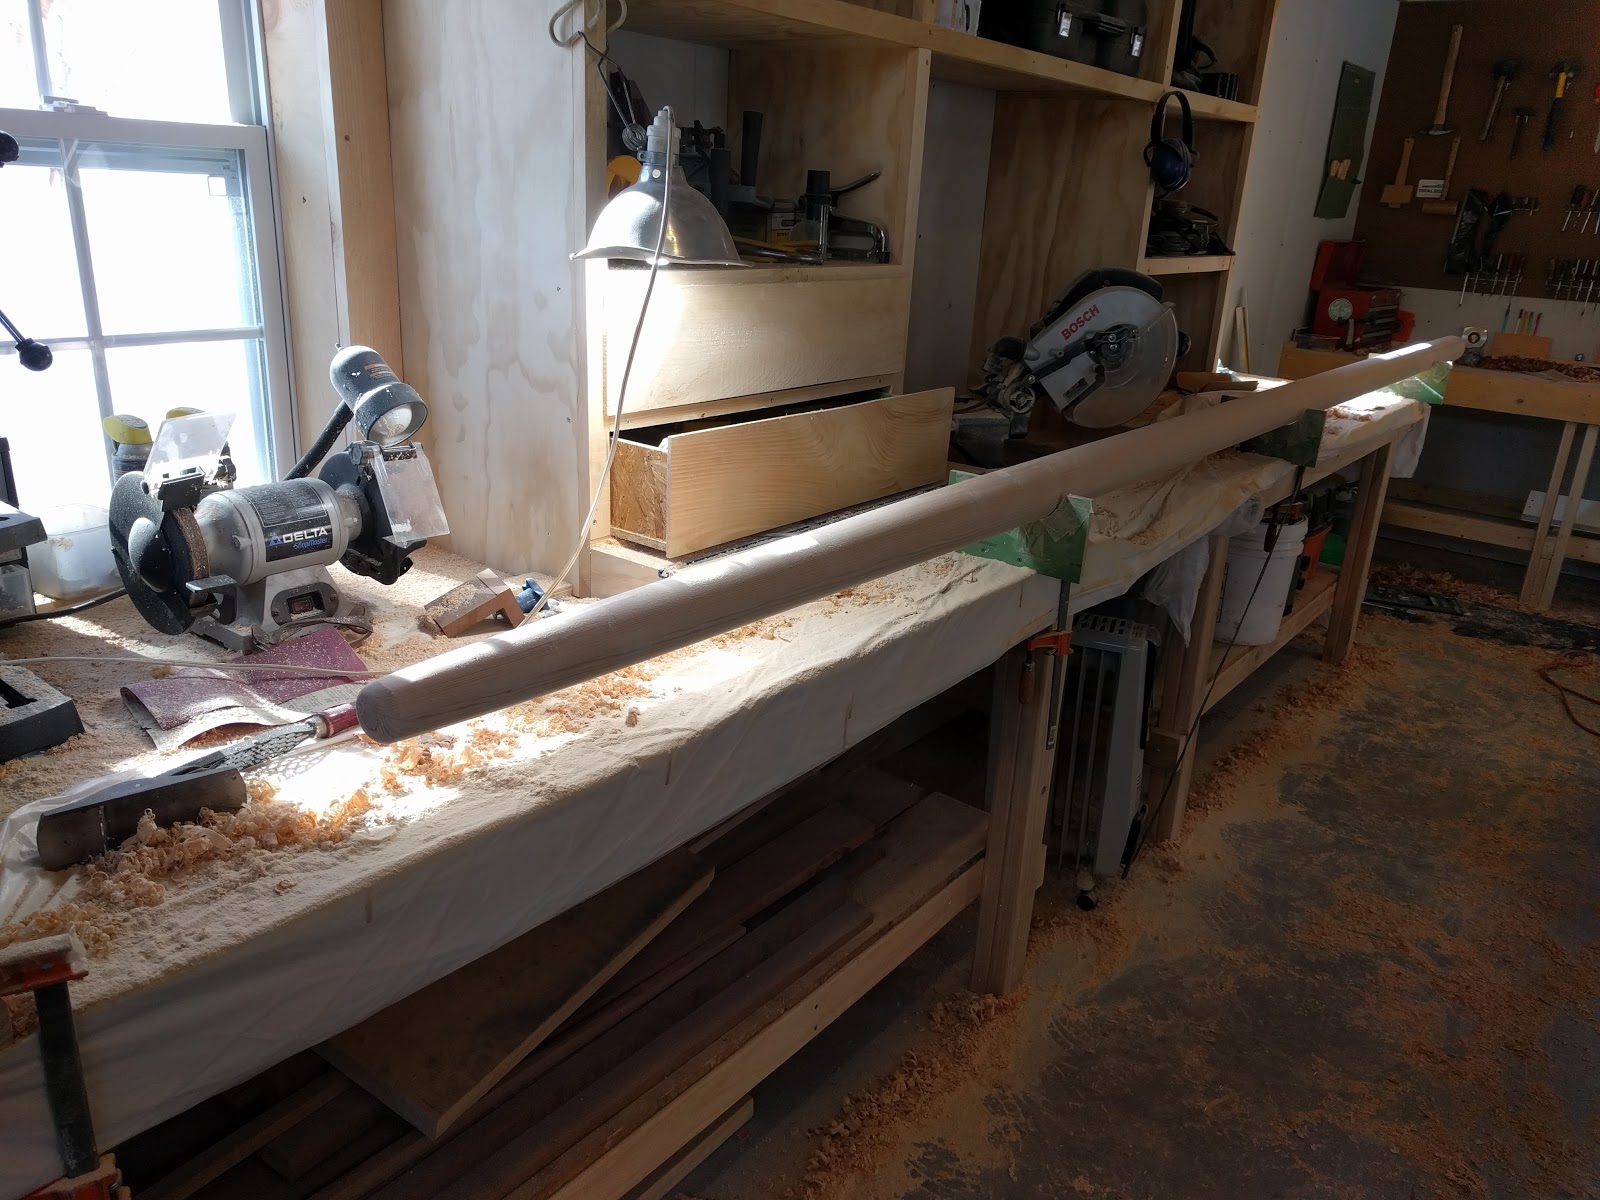
 Then it was time to make some dust. I kept going with 60 grit until I was happy that all the flat spots were gone, I switched from 60 grit to 80 and did 2 passes over the whole spar. Then I moved on to 100, 120, and finally 150 grit for the final passes. Along the way, I shaped the top end into an nice rounded nub.
Overall I'm happy with the result and my final diameter is 91mm at the bottom and tapering to 52mm at the top. I probably could have kept sanding to get the diameter down to the 90mm and 50mm specified in the plans, but enough is enough. Although it is a bit heavier than I'd like at just under 25 pounds, I don't know I could have done anything to prevent that other than using Sitka which is a lighter wood, but much more expensive. I still need to cut the beehole at the top and figure out the shape of the bottom butt arrangement. I will probably round that as well.