Monday, August 29, 2016

The Finish Line, Sort of

So yesterday was a long day of putting the boat back together and completing my goal of getting out for a first sail by the weekend.  I decided earlier in the week that I had to be realistic and plan on having an unpainted (single coat of primer) hull if I was to make this goal. At this point I don't care how it looks, but just want to make sure all systems are functional.  Given that the paint takes a few long days to properly dry/cure, I don't want to do a fancy paint job only to have it all scratched up on a beach because the paint is still soft.

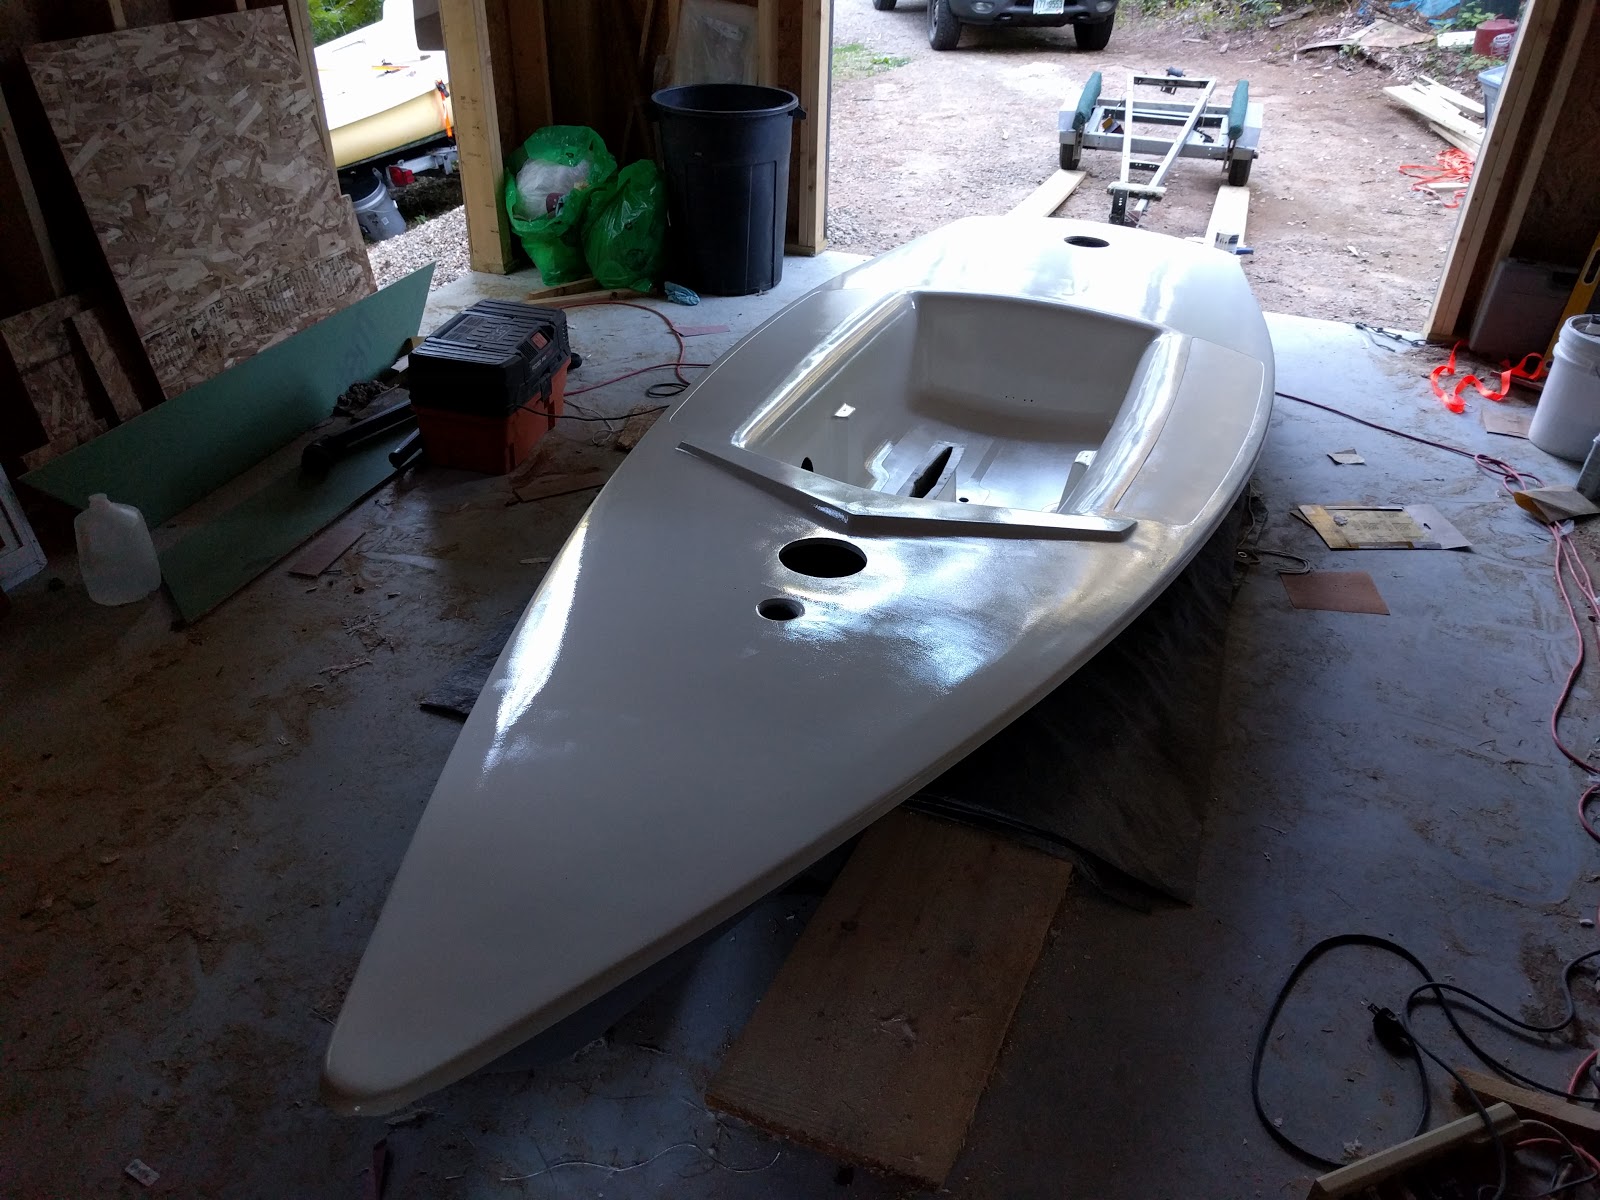
I got up early to get going and started by getting the thwart and coamings installed.  I also put on the vinyl Force 5 graphic in the aft end of the cockpit that I ordered from www.diylettering.com.  Very cool site; you can pretty much design any logo you want with a huge number of font selections and colors.  Once you are happy with design, you order and it prints out and ships that day.  It came with clear instructions on how to apply and while time will determine durability, it appears to be as good as any vinyl lettering (not that I'd know).

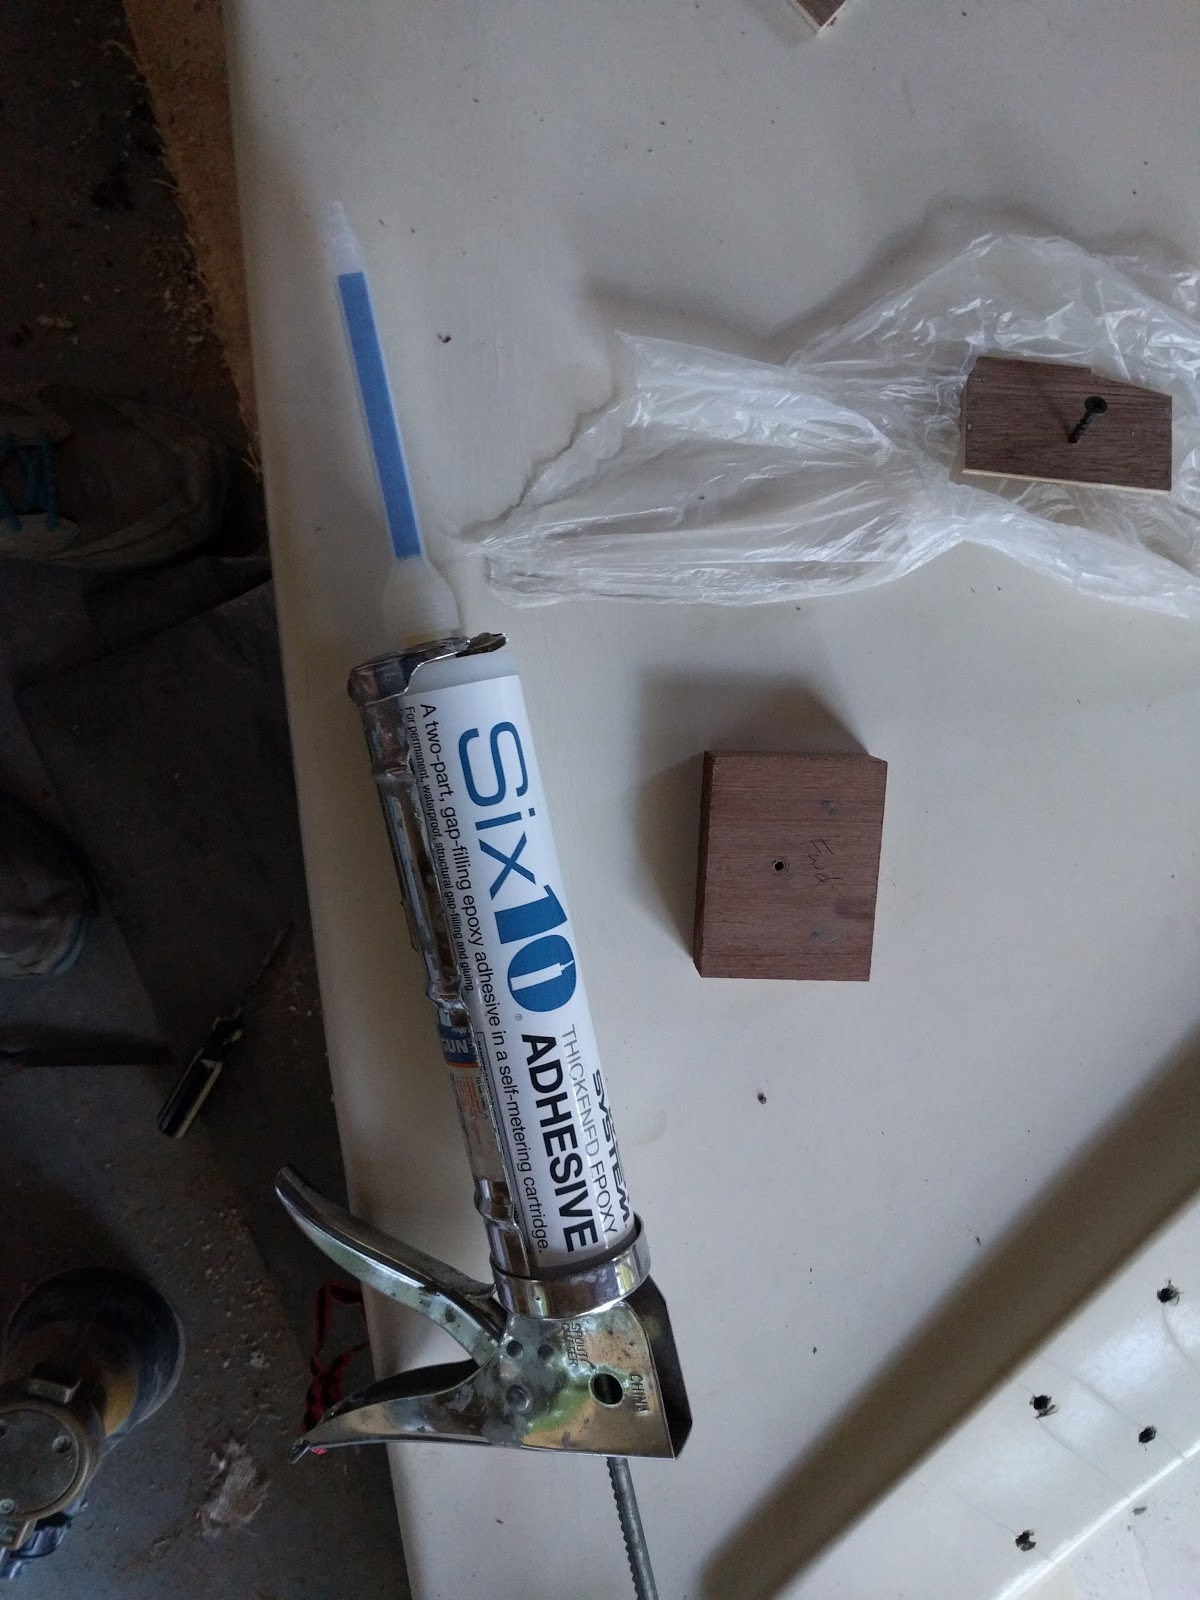
It seemed to be one of those days where stupid things kept happening that necessitated the need for multiple trips to local marine hardware store for stainless screws and various parts.  Anyway, I got it all done and moved onto rudder hardware and drain plug.  I used butyl tape all around for all parts in compression going into the hull.

Once I got all of that bedded and installed I moved onto rigging.  This ended up requiring 2 extra trips to marine store to get the padeye I had forgotten to buy for the main sheet block and some other padeyes for hiking strap for the thwart side attachment.  By my last visit (3 times total), the guy working there asked if maybe I should just bring the boat there and work on it in the parking lot so I don't have to do a separate trip each time I forget something.  I politely declined but I think he was probably right and might make a good side business renting slips in the parking lot for boat work.

Anyway, I got everything done and rigged the boat in my shop driveway. I ended up skipping the vang rigging because I had forgotten to buy line for the sheet traveler and decided that was more important than a vang for first sail (and I couldn't bear the thought of another trip to the marine store).

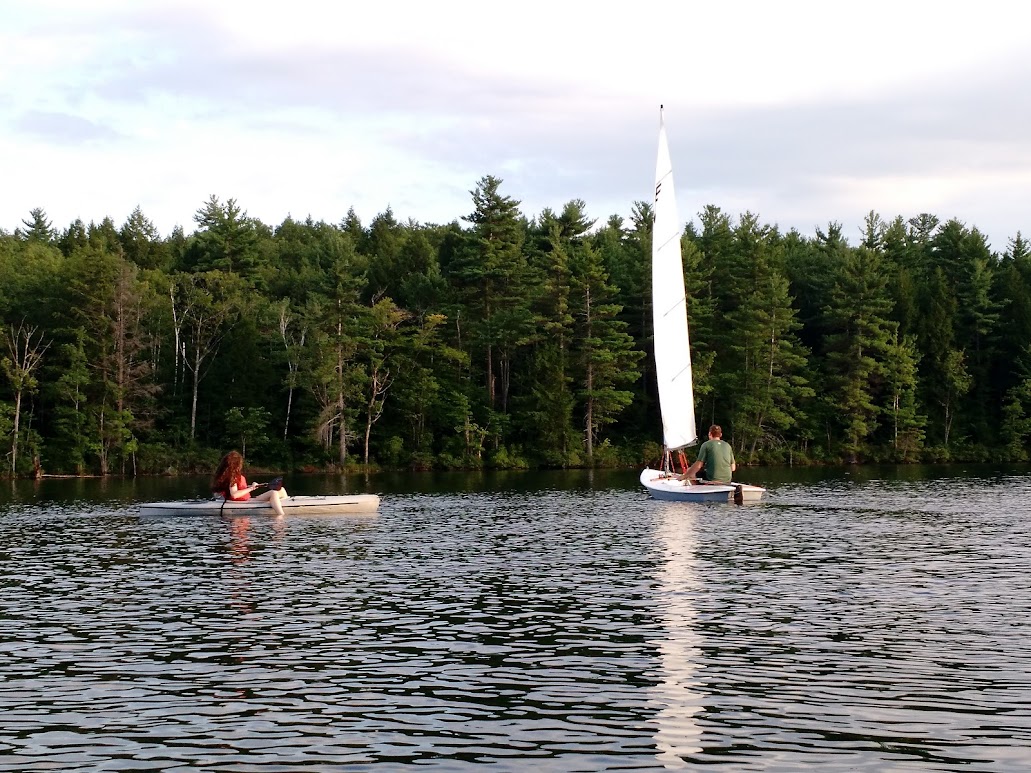
We didn't get out until 5PM and the wind was dying out so there wasn't much time, but I'm really happy with how things turned out.  The boat moves right along in the faintest of breeze and the few times it piped up a bit, I got a feel for how quick this boat will be.  Success.

Things to finish:
1. Paint hull
2. Rig vang (get vang line)
3. Bailer assembly.  I forgot to caulk in the bailer assembly and as a result it leaked quite a bit.
4. Keeper for daggerboard. Carpet and shock cord.
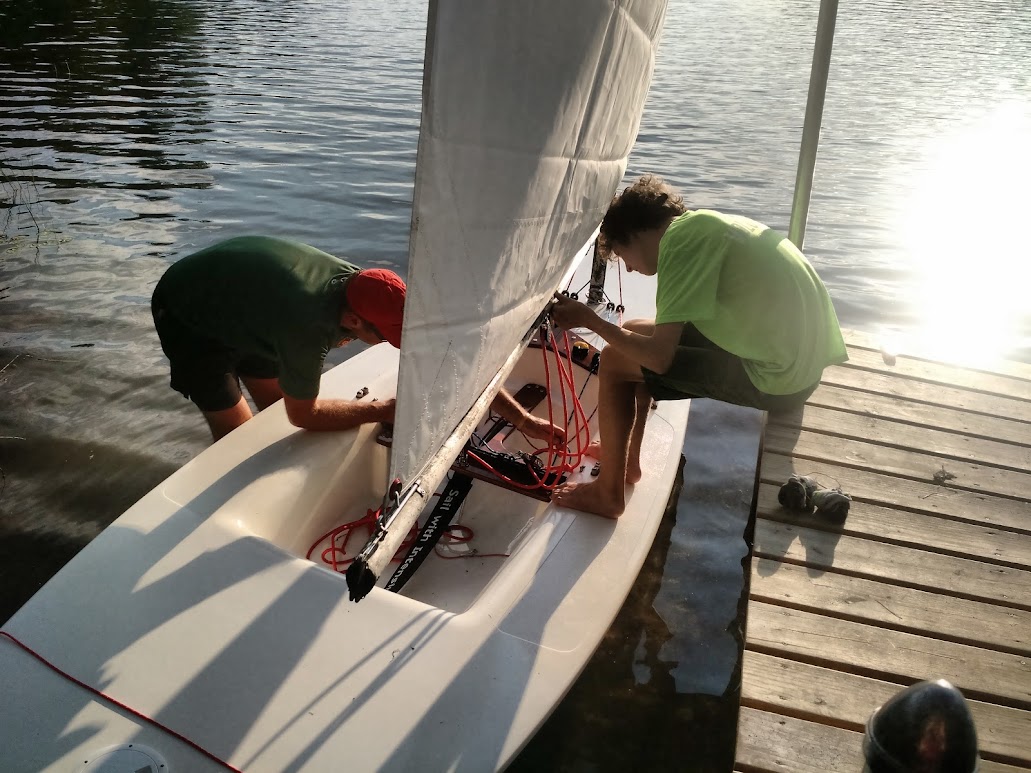

Rigging time


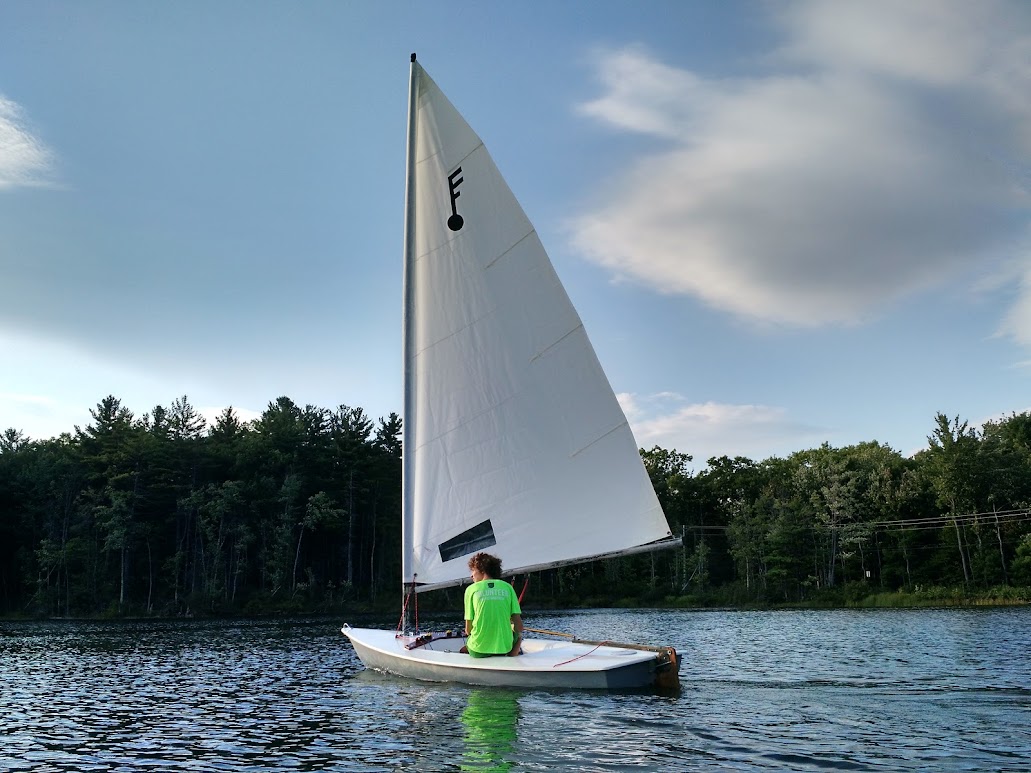
My son got first sail
My turn, with my daughter taunting me.

Sunday, August 28, 2016

Hot Mess - The Trailer

The last two days have been a blur of putting the boat back together and more significantly, getting the trailer road worthy.  I decided that getting the boat out for a sail was the main goal for the weekend even though I haven't put final paint on the bottom yet, so getting the trailer going was key to making it happen.

I won't go too deep into the trailer saga because frankly, it is just boring stuff, but in a nutshell it went down like this:
1. Trailer was a mess, but bearings seem good.  Looked like someone had backed it into a cement wall.  The tongue was bent and there were numerous cracks.  Trailer was super lightweight to begin with.  Decided to try a local welder, he welded all the cracks and replaced tongue and deemed it 'mostly safe' for $50.  Money well spent.
2. Using the template publish on Force5.us I had a full scale copied at Staples and using a 2x12" pressure treated board, I traced and cut out new bunk
3. Installed new bunk with combination of 3/8" galvanized bolts and lags so boat would ride on it at recommended 48" from stern and re positioned roller so boat would ride 40" from bow.
4. Rewired trailer with $25 trailer kit from Home Depot.  Easy, but annoying.

Too many hours later, it is finished and ready to go.


Friday, August 26, 2016

Hot Mess - The Top Part 5

Everything is moving along nicely now and while I may not quite make the project launch date this weekend, it's going to be close.  Given that the paint really needs a week or so of dry time before it fully hardens up, I may opt to do the maiden sail without painting the bottom and just leaving the primer on.  The other thing holding me up is varnish.  I want to get the new wood varnished up nicely, but it just takes a lot of time and I really want to sail this thing.  I may defer full varnish until after first sail as well.  I want to get a few coats on, but just to protect the wood.

Now that the thwart is complete and in varnish state, I moved along to the coamings.  Using the template from Chris Z (thanks again), I traced it out and cut it out of a Honduras Mahogany board I planed down to 5/8".  Before planing, I cut a 2" strip off the main board that I will use for the new tiller, but I won't do that until after first sail.  The current tiller handle is ugly, but usable.


When I fitted the cut out coamings, they had quite a bit of overhang on the raised section of the foredeck where they mount.  Not sure if Chris's foredeck section is somewhat larger than mine, but in any event, I cut them down to fit better and with the help of a Shinto rasp and roundover bit on my router I smoothed everything out and got it looking nice.  I still need to cut out the center piece that cover's the joint, but that should take more than a few minutes.  I sanded them down with decreasing grits from 80 to 220 and put a coat of varnish on.

I also started reinstalling some of the hardware and the inspection ports but ran out of time before I got everything done.  I did have time to get the mast base fairleads and the fore and aft 6" inspection plates reinstalled with butyl tape to seal them.  I used butyl tape during my Alberg 35 restoration and feel that it is the best solution for mounting hardware where you don't want water to get in, ever.

I first discovered butyl tape when I was restoring a Pearson Ariel.  I was removing the port windows from the cabin top so I could paint, and was thinking it was going to be a complete nightmare.  When I pulled the trim off the ports, I found a gummy substance underneath that was super sticky, but allowed me to remove the ports with little difficulty.  I found the same thing on my Alberg 35.  Given that the Alberg was 50 years old, the ports never leaked, and the butyl tape was still just as pliable as the day it was installed, I felt like it might be pretty good.  The market is saturated with all sorts of cauks and sealers these days, but they are a mess to install and depending on the type, they can make removing hardware infinitely difficult.

Anyway, butyl tape is awesome as long as you are mounting something in compression (ie. using screws or bolts to hold the part in place) and it makes removing hardware a breeze.  The only semi-annoying thing about butyl tape is that once you install the hardware, you have to trim off the squeeze out from around the base, but you can usually just use a fingernail or knife to cut it away and roll it up into a ball.

Fairleads installed, but I still need to trim the butyl tape from bases.


Tuesday, August 23, 2016

Hot Mess - The Top Part 4

Moving right along now; I feel like there's light at the end of the tunnel and I'm hoping to finish up in the next few days.  I have one more repair on the transom that I missed before I turned the boat over.  There is a crack right next to the rudder bracket (pintle or gudgeon, I don't remember) that I will take care of tomorrow, but today I wanted to get the thwart fitted before I put the first coat of paint on.

Last night I planed one of the Honduras Mahogany boards down to 3/4" and did a shiplap joint to join the thwart and the daggerboard trunk top.  I mixed up a small batch of epoxy and joined the boards together and temporarily screwed them together until it cured.

After work today I traced the entire template (thanks Chris Z) onto the glued up board and did a rough cut to start test fitting.  Using a number of different size and shape rasps I whittled it down until it fit on all three contact areas.  Once satisfied, I tapped one hole in each mount point and screwed it home.  Then, with a pencil from the underside, I marked the location of the 6 screws that will hold the daggerboard in place.  I pulled it off and tapped the 6 holes from the underside.

My initial thought was to use 1.5" screws for the three mounting points, but I may increase them to 2" just to be safe.  For the screws on the underside of the daggerboard trunk, I used 5/8", but will increase to 3/4".

Next, I set the thwart aside and fitted the new bailer I ordered from Great Lakes Marine Outfitters (They have lots of Force 5 parts).  I had previously filled the bailer housing with thickened epoxy and needed to bore it out with a 1" forstner bit (or maybe it was 7/8").  It took a fair amount of sanding the bored out hole to get the new bailer to fit but I finally got it.  I pulled it out and set it aside, because I had run out of excuses to paint.

I'll say it up front; I hate painting.  Maybe because it is messy, monotonous, and time consuming.  Yes, it's all that, but mainly I suck at it and I'm always disappointed.  The one exception to that rule is the Alberg 35 I did, but I spent a huge amount of time and at least $1000 in very expensive 2 part linear polyurethane.  That stuff was great, but for the Hot Mess, single part polyurethane at $30 a can will have to do.

Anyway, I chose Jamestown Distributors Wet Edge in Oyster White.  It's a knockoff of Interlux Brightside and is a little bit cheaper.  I rolled it on with a foam sausage roller and it turned out ok, but I'm not blown away.  I'll do another coat tomorrow, but honestly, I'm not going to sweat it too much.


Sunday, August 21, 2016

Hot Mess - The Top Part 3

The final major piece of work on the topsides is the foredeck.  The laminate is very thin and the resulting lack of structure has caused the gelcoat to become a spiderweb of crazing.  Fixing crazing involves opening up the crack with a dremel and following it for the length before filling it with fairing compound.

Unfortunately, I don't have the time or patience to fill the hundreds of crazing cracks that exist on the foredeck so I opted to cover the entire foredeck with 6oz cloth.  This serves a dual purpose; covering the crazing and providing a little extra structure (although 6oz isn't much).  It's more of the same process as what I did on the hull, epoxy the cloth in place, then sand, fair, and sand some more. Repeat. When I got it to what I thought was satisfactory, I put a coat of primer on.  Still a few spots to take care of, but WAY better than before.


To add additional structure around the 6" cutout by the mast step, I opted to use a marine plywood ring epoxied in place surrounding the cutout.  Using the roto-zip, I cut out the 6.5" hole (the 6" inspection port requires this size hole) in the plywood, then cut the entire piece in half so I could insert it into the hole for bonding.  I saturated both halves with unthickened epoxy and then bonded it to the underside of the inspection port cutout with West 610 and screwed it in place from the top.


Hot Mess - The Top Part 2

With the messy job of installing backing plates done, it was time to focus on the deck and cockpit.  Structurally, the daggerboard flange would need to be rebuilt. The interface between the cockpit sole and the daggerboard trunk was also suspect.

Building up the daggerboard flange was a multi-step process that went like so:
1. Cut and epoxy 2 layers of 1708 biaxial cloth for each side off the boat and let it cure.


2. Using a rasp, file down the lamination for each side so that it fits under existing flange then epoxy in place with West System 610 using clamps.


3. Once cured, apply a layer of fairing compound to even up the top of the flange and sand it down once cured.  Follow up with a layer of 6oz cloth over the top and wrapping into the daggerboard trunk and a layer of 6oz cloth underneath the flange, wrapping down the outside of the daggerboard trunk.


4. Sand it all down and using a cutoff wheel trim the edges so it matches up with original dimensions.


If you look closely in the photos, you'll see that other work was going on at the same time.  On the daggerboard trunk/cockpit interface, I laid down a fillet of 610 epoxy and then put a 6oz strip of cloth on either side of the trunk, followed up with a coating of unthickened epoxy to tie it all together.  I also applied a patch in the corner of the cockpit where there was a crack in the laminate and faired it at the same time as the rest of the daggerboard trunk work.

Finally, I filled all the various screw holes, dings, and scratches in the cockpit in preparation for primer.

Hot Mess - The Top Part 1

After the primer, I flipped the boat right side up again and found that at first glance the topside looked pretty good.  Upon closer inspection though I realized some substantial surgery was in order.

The first obvious problem was that the thwart pillars on either side and the forward one had some hardware store steel (rusty) brackets screwed into the side.
Of course they were junk and it also indicated that whatever backing plates the boat had on top of the pillars when the boat was built were either gone or just rotten.

What that meant was that I had to get behind them and to do so I needed several access ports.  I settled on two 4" ports just forward of the port and starboard thwart pillars and a 6" port between the mast step and the splash coaming. For good measure I also decided on a 6" port about foot forward of the stern in anticipation that the rudder mount is bad.

After measuring everything out, I cut all four holes with my roto-zip with hole cutting attachment.  I'm not a huge fan of roto-zip, but the hole saw attachment is the exception.  The two 4" holes gave me good access to the soft, damp wood and piss poor attempt at encapsulation.  Nice try AMF; I'm guessing my boat was built on a Friday at 4:30 and they needed to get it to paint to make their quota.

Anyway, I pretty much expected that, but when I opened up the cutout 6" port just aft of the mast step, I was faced with wet foam.  Lots of it.  Nasty, smelly stuff that just had to go.  I spent a good hour or so with a small hand saw cutting the blocks into small enough pieces to remove from the hole.  I ended up with 2 trash bags and about 20 pounds of old foam in there.

After letting it dry out overnight, I was able to get to the backing plate for the splash coaming and the forward thwart pillar and once again found wet mushy plywood with a thin layer of fiberglass over it that I could crumble with my fingers.

I ground out all the old backing plates and found that one actually had an aluminum backing plate in addition to the plywood, but couldn't find any others.  Once satisfied, I cut out Sapelle blocks for the thwart pillar backers and 1/2" marine plywood for the splash coaming backers.  I gave it all a coating of epoxy before glassing them all in with West System 610 epoxy (temporary screws holding them in place.  610 is perfect for this type of application because it gives you a consistent structural filling compound with the squeeze of a caulking gun.


Hot Mess - The Bottom Part 2

It's been a busy week and I was able to get tons of work done on the boat but have had little time to catch up here, so hopefully I won't miss too many details.

After the first patches had been applied and allowed to cure I went back over them and sanded them down to help blend them into the rest of the hull.
Once I was satisfied, I laid down a coat of fairing compound on all the patches and let it setup.
After 4 or 5 hours, I came back and found everything had hardened up nicely and was ready to sand.  The great thing about fairing compound is that it is great for hiding patches, holes, cracks, gouges, etc...  The bad thing about it is that in order for it really blend in and make the fix invisible, you have to sand almost all of it off, so most of what you pay for turns to dust.

Anyway, after sanding down the fairing compound, I found a number of other areas that needed tending, most notably a large crack just aft of the daggerboard trunk so back to the 6oz glass for another patch.  Along with the patch I touched up the first round of fairing compound and let it all setup overnight.

The next day I came back and sanded it all down again.  At this point you go by feel, and everything felt pretty good, but looking at it is tough to tell if things are fair because all the colors of fairing compound, gelcoat and bare glass all turn the hull into something akin to camouflage.  When I get to this point, it's time for primer.  With this boat I'm using a single part polyurethane high build primer. It's simple to apply, just pour it out into a paint tray and roll it on with the 6" sausage rollers.  In some cases, the fairness may still be a mess after the first coat of primer and you start over with the fairing compound, but luckily, I didn't miss much and will only have a few minor scratches that I missed to fill.


Thursday, August 18, 2016

Hot Mess - The Bottom Part 1

I was pretty burned out from working 60+ hours a week for the past 3 weeks on the new shop and I had gotten it to the point where it was at least watertight, so I decided to take a break this week and get the Force 5 back up to speed.

I don't know the entire history of the Force 5, but it started production in the early 70's and was a competitor to the Laser (although I don't know which one came first).  When I was a kid they had one at the camp I went to and it was the coveted boat in their small fleet of Optis, Sunfishes, and other assorted dinghys.  I always had fond memories of the boat and when I saw it on craigslist I couldn't resist.

The boat was in really rough shape with several holes that look like they had been repaired by a deranged first grader with too much grey playdoh. There was no sail, no running rigging, and all the woodwork (splash coaming and thwart) was missing.  I probably would have passed on this boat
except the expensive bits (mast, boom, rudder assembly, and daggerboard) had been stored in a garage and were in surprisingly good shape.  The paint is flaking off the mast but it appears solid.  That left me with the following tasks:
  • Purchase and install new rigging. (fun job)
  • Build new thwart and coaming.  I have several lovely chunks of old growth honduras mahogany that is just a pleasure to machine.  I just needed to either find templates (Thanks Chris Z. from Force5.us) or approximate. (fun job)
  • Fix and fair the hull. I've always liked fiberglass repair and have gotten good at it over the years and with a boat so small, it shouldn't be much of a burden at all. (time consuming, but still fun on small scale such as this)
The great thing about this boat compared to other boats I've done is it's soo freaking small that every job is manageable and economical. Late last week I ordered epoxy, primer, and paint and jumped into the project.

I started on the bottom and flipped the hull over (woohoo, I don't have to lie on my back for a week with a grinder).  It was hard to tell what the substance was that was used to plug the cracks and holes in the boat, but it wasn't quite soft, but certainly wasn't quite hard.  It might have just been dried pigeon shit, but I knew it all had to go.  It was all loose enough so I didn't even have to pull out the angle grinder with 24 grit discs; 60 grit on the R.O. sander was adequate and ensured I didn't grind through the paper thin hull.

Mmmmm; bailer
An hour later and I was ready to start re-building (did I tell you how refreshing it is to not have to spend a full week grinding before re-building).  I identified several actual holes/cracks in the hull that warranted 6 oz cloth.  The biggest section was along the bow, there were tons of cracks/holes and I ended up doing a 4 foot by 1 foot section of cloth.  Other areas were what appeared to be cracks from being trailered incorrectly (or maybe somebody took it 4-wheeling on a jeep road).

The bailer was also a complete mess and I ended up using 1708 biaxial cloth for that because it protrudes below the hull and is just asking to be clobbered by all sorts of things.

Once all the patches were cut out, I mixed up a batch of epoxy and wetted everything out.  Before calling it a day, I mixed up a smallish batch of fairing compound and filled most of the smaller dings, gouges, and the like.

First round of patching done.
Start of bailer rebuild.  When the boat is flipped back over I will fill with epoxy and then re-tap holes.


Welcome

Welcome to the new blog, for those of you that came over from the Alberg 35 blog, this may be a disappointment.  Going forward I plan on doing smaller projects (ie. smaller boats).  I've realized along the way that I have lots of friends with really nice big boats that I still get to sail on but don't have to own (I did the Bermuda race in June on a Swan 60 as example) I'm just ready for a change.  Since selling Magic, I have been working like a dog to get my new shop up and running before embarking on a new small boat project.

Well, I haven't finished the shop but a boat followed me home from the interwebs in the form of a 'free sailboat' ad on craigslist and I am never in a position to say no to a free boat.  I have been around the block a time or two and realize that a free boat is anything but free, but I am a sucker for forlorn floaty objects especially when people threaten to use them as planters. Fortunately it's small; a 1977 14 foot Force 5.

Force 5, a fun little one design. Picture credit from Force5.us website.  The one I found on craigslist would probably do poorly if placed in that photo right now.